Thursday, July 20, 2017

Haute Couture, Anyone?

I've started working on the clothing of the two figures.  Most of it is done in detached buttonhole. . . with occasional other stitches mixed in here and there.

For me, the real challenge of this stitch is keeping it looking neat and clean.  It doesn't take much to create a messy look.  And for clothing, there's the additional issue of the order of work and how to make the various clothing sections work smoothly together.

What I've tried to to is think about which individual clothing parts logically sit atop one another and work in that order.

Here's what I've been working on thus far:

I started with the wife, with the center of the hat. . . but am still trying to decide what hat section would be best done next.  So I moved on to the little loops that form the collar. . . then the sleeves of her dress.


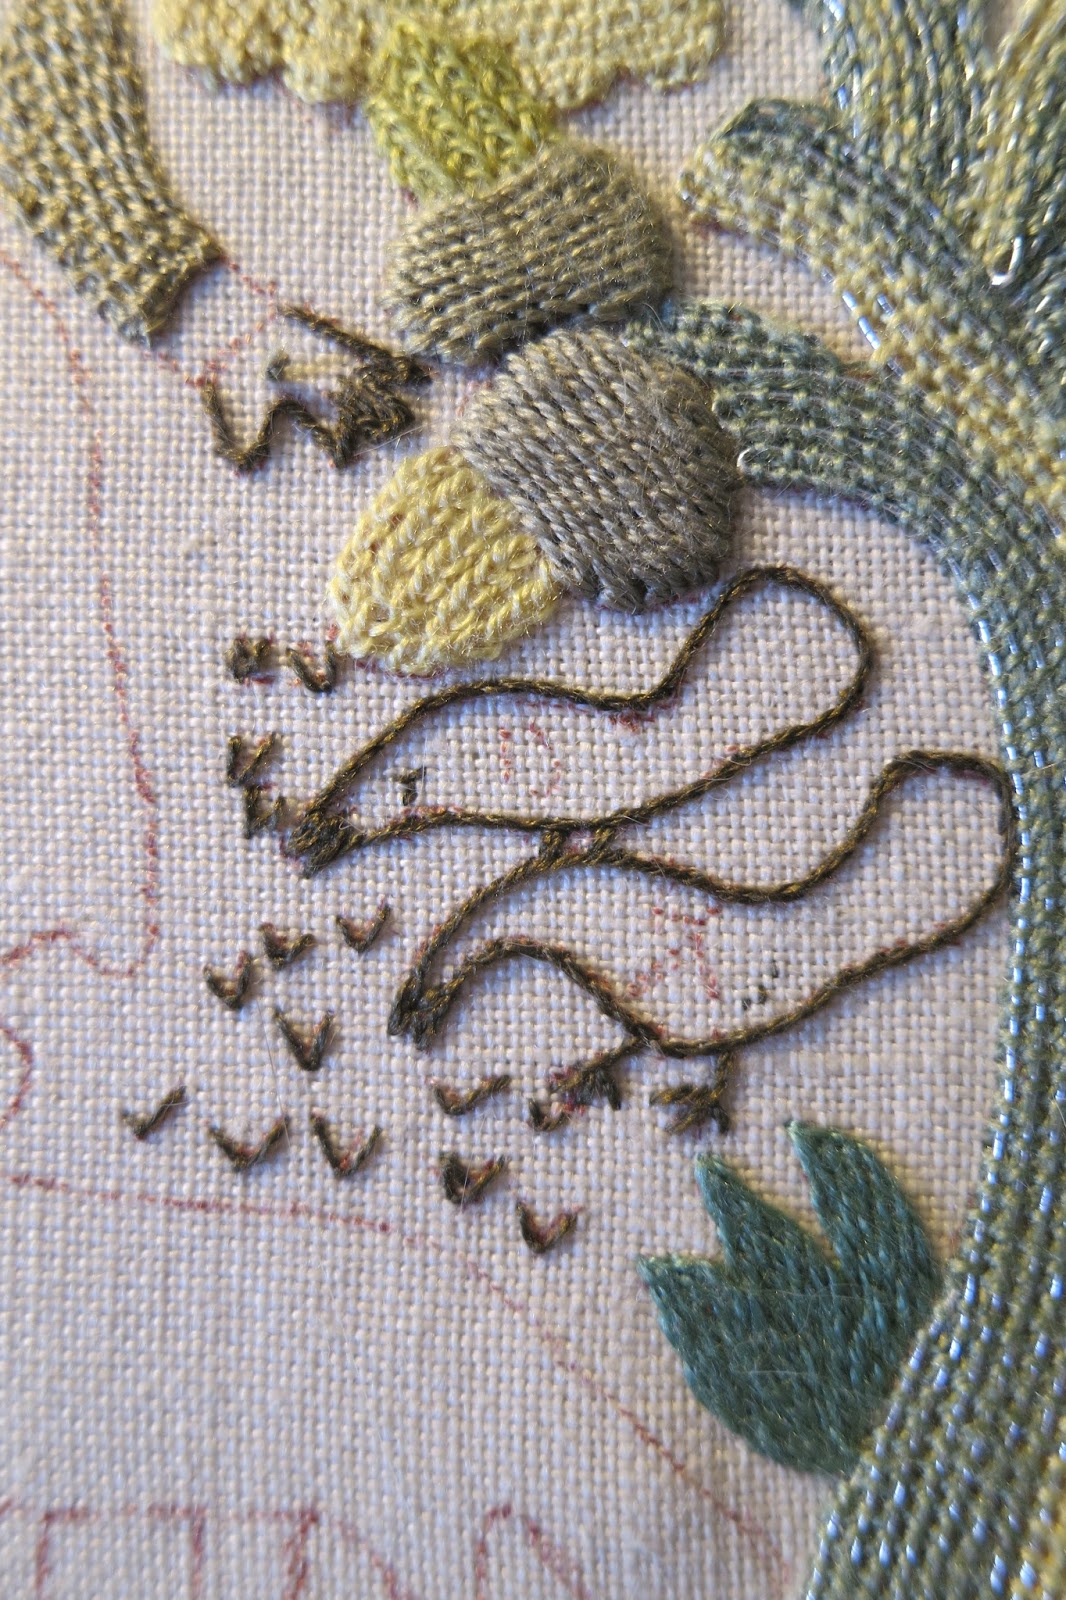
Next I stitched the left side of the bodice. . . and started on the right side.  The left side I like, but I'm still fussing to get the right side look balanced with the left side. While I stewed about that, I stitched the right side of the skirt.  This shows some of the issues with stitching these complex shapes neatly.  In this section I added several partial rows to make the skirt shape flare out a bit.  Even done as neatly as humanly possible, they tend to look a little messy.


There's a little section of what I assume is an underskirt of some kind along the left side of the skirt.  Since I think the other skirt sections would lie above this, I stitched it next.  It's done in ceylon stitch, but since the shape is so tiny, the section begins with a single column, widening out to two.  I love that the petticoat is bright red!  What fun.


What's next?  I think I'll work on the left side of the skirt. . . then the center apron.  I'll leave the rest of the bodice for last since it looks rather tricky. . . with that uncooperative right side of the bodice to unstitch and redo. . .then a wide detached lapel and collar that sits atop the tan main part of the bodice.

Friday, July 7, 2017

Do the Funky Chicken

Yup!  I'm on a roll.  So onwards . . .

I decided to tackle the two little funky birds that the instructions says are chickens.  OK, I guess that's likely since it's a pastoral scene, but they sure don't look like any chickens I've ever seen.   And they're tricky since they're really quite small.

I started by doing the feet, legs, and beaks in stem stitch as specified in the instructions.  Then I backstitched an outline around the entire shapes.  The instructions do not specify doing outlines of many of these detached button hole stitched shapes, but I think it's really hard to get started on the detached buttonhole without an outline, and I think it results in a cleaner overall look.


Both birds are filled with simple detached buttonhole, but the heads are worked in gold over a gold return thread, while the bodies and tails are dark brown silk over the gold return.

Like many of these shapes, working them requires a well thought out strategy.  In this case, I worked with three needles.  With needle 1, I laid a line of gold return thread.  With gold thread in needle 2, starting on the left hand side, I worked enough stitches to cover the head area.  Then I carefully brought up needle 3 with dark brown thread (then sunk needle 2 to the back), and worked the remainder of the row. . . then repeated the process for the rest of the shapes.

I'm pretty happy with the results. . . but am wondering whether they need eyes or not ???


Saturday, July 1, 2017

Round and Round We Go

I'm happy to report that I've gone on to complete the "sprig" as started in the last post.

The quirkiness continues in the "flowers" -- both big round spheres that are worked in spiral trellis stitch using two colors in the needle so the result is sort of tweed-like.

Thistle-Threads has excellent instructions for this stitch here.  The first photo below shows the completed green and yellow flower and the backstitched outline for the larger flower.  The backstitch provides a scaffolding for the stitch.


Here are two photos of the stitch being worked.  First, the needle is inserted from the center of the shape outwards, then the working thread is looped counter-clockwise around the needle.  Pulled tight, this creates a series of knots that creates the stitch pattern.

In the photo, it looks like I'm going from the outside towards the inside, but I'm not.  Usually you'd use a tapestry needle with a blunt point for this stitch.  But I find that towards the center, I often need a sharp point to help find the little tiny spaces.  So I use an embroidery sharp, and just stitch "eye first" when I need a blunt point.  That's what's happening here.


For me, the tricky part of this stitch is getting the little knots to sit close to the previous row instead of floating all over the place.  What works for me it placing the needle into the loose knot, then pulling the knot tight as the needle holds it where it belongs next to the previous row.  


Here's the completed monster flower motif.  (It's almost as big as the woman who stands just to the right.)  The photo below shows a close up of the stitch.  I think you can see some of the spiral pattern, but the tweeding of the two colors does minimize the spiral look.


Wednesday, June 21, 2017

In the Words of Scarett O'Hara

So. . . yet again. . . indecision has put a sudden prolonged stop to all stitching.  Attempts to diagnose the problem with the metallic thread and up and down detached buttonhole remain unsuccessful.  Aaarrggghhhh!

Hence, Scarlett's advice.  I'll think about that tomorrow.

In the meantime, I decided to move on to several new motifs that should be less problematic.

First is a multicolored red and yellow butterfly, done in stem stitch:


Then on to a strange oversized stem with two leaves and two round shapes that I assume are flowers of some sort.

The stem has a tweedy look achieved by using two different colored threads - green and reddish brown -- done in an attached buttonhole / blanket stitch.  To my mind it's a rather odd effect.  Here's that odd stem with one of the two leaves stitched with a chain stitch outline filled with detached buttonhole.  

Above it, you can see the chain stitch (actually reverse chain) outline for the second leaf.  


And here is the completed second leaf:


In both of these leaves, I used the temporary tacking technique for the buttonhole return thread as shown in my blog post of January 8, 2013.  Although the lines of stitching here are not as sharply angled as those in the other post, I am reasonably satisfied with the neatness of the buttonhole filling of these irregular shapes.

Saturday, February 18, 2017

Will It Stay or Will It Go?

Remember those threads behaving badly?

Well, there's a whole other silver and gold acorn, but this one has a different stitch for the acorn cap.

Silver and gold acorn 1 had a cap stitched with the same wrapping technique as the acorns stitched with silk.  But the second one has a cap stitched in an alternating up and down detached buttonhole.

I find this to be a tricky stitch under any circumstances, but the characteristics of this thread (Access Commodities Tambour #7) made it especially challenging.   The photos below represent attempt 5 and I haven't decided whether or not I want to try one more time with attempt 6.

After several tries, I determined that an outline of the whole shape was the way to go:


I also had developed another "cheat" to help control the stitch and thread.  The photo below shows the first row, worked over a needle to help stabilize the thread.  Here you can see how the stitch is supposed to look, with a series of little bundles of two threads.  At this point, things are really looking good!


Here's the cap with several rows worked the same way.  . . . looking OK, but you can see how in the center rows, the little bundles are tending to disappear.  What's happening is that this metallic does not act like a wire in that it does not "crimp" into a shape that stays in place.  But unlike a silk thread, it does retain a lot of :"bounce" that makes it tend to bounce back out of the little bundles when the stabilization is removed.  So instead of a clear pattern of little bundled threads, it looks more like an overall pattern of loops.


Here's the finished shape. . . with the pattern of alternating bundles pretty well absorbed into the loopy texture.  


So, does it stay or does it go?   If I had a really good idea on how to keep the little bundles in place, I'd probably take it out and restitch it.  But so far. . . inspiration has yet to hit.

Stay tuned.

Wednesday, February 15, 2017

Ta dah!

Here's the finished acorn. . . with a cap made of badly behaving gold thread!


Thursday, January 19, 2017

Threads Behaving VERY Badly - or Why This is Taking So Danged Long

I'm back working on the needlelace pastoral panel, which is progressing as slowly as the proverbial molasses in January.

While taking a break from a fiendishly difficult trellis stitch leaf, I decided to move ahead with the remaining acorns.

All the acorn bodies are done in Ceylon stitch, which looks kind of like knitting, as can be seen in this photo of completed acorns stitched in silk.  A stitch diagram can be found  here.


The next remaining acorn called for the nut section to be stitched in silver tambour, and here's where things got dicey.  Metallic threads are notorious for obnoxious behavior. . . and that was certainly the case here.  This photo shows the kind of schenanigans you can expect (see the spontaneous kinked section towards the right).


Complicating things further, between the size of the stitch and the shine of the thread, it was almost impossible to see the stitches while working.  (Amazing now clear it all is in the blown up photos.)

In any case, after cutting out two unsuccessful tries, I decided that I needed help. . . which I provided myself by tacking down each stitch as I worked.  While VERY time consuming, this did make the stitched loops lie flat and stay still instead of kinking up and semi-floating above the fabric.  The photos show the individual loops tacked down as I worked, and the finished product with the tacking stitches removed.


So. . . cheating or not. . . the nut of the acorn is done!

Monday, January 9, 2017

A New Leaf for the New Year?

It's back.  After a holiday hiatus, I've started back to work on the needle lace pastoral panel.  This is the next to last leaf on the big central tree.  I had started the central section before the holidays, and today managed to get back to work and finish up this very crazy leaf.

That leaves one more leaf and a half dozen or so acorns yet to do.